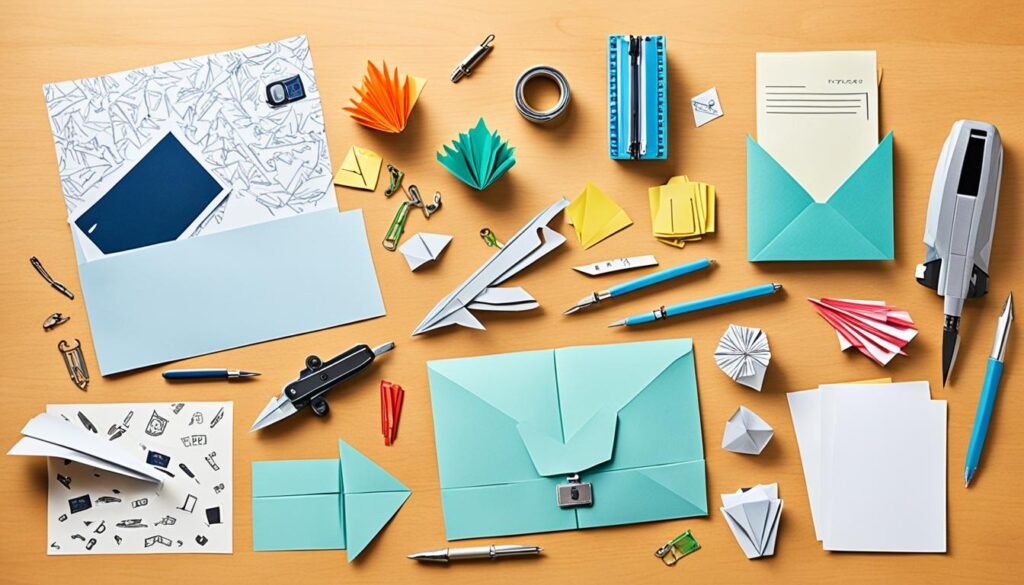
Who hasn’t dreamed of being a secret agent? Now, you can make your own spy gadgets at home. All you need is paper and a few common things.
Explore the world of DIY spy tools. This tutorial is inspired by movies like ‘Spy Kids’ and ‘Agent Cody Banks.’ Plus, it’s packed with cool ideas from Pinterest. You can make your spy gear. From secret agent costumes to invisible ink kits, all with simple materials.
These projects are both fun and promote problem-solving. They’ll make you feel like a real spy. And you’ll have hours of entertainment.
The step-by-step guides make crafting easy and fun. You can create cool stuff, like a spy periscope or a secret ID card. Just get some supplies and let your imagination run wild.
This tutorial is your ticket to a world of spy adventures. So, dive in and enjoy making your own spy gear.
Introduction to Homemade Spy Gadgets
Spy films have always hooked us, pulling us into worlds filled with mysterious twists and thrilling turns. And imagine the fun of turning your normal household stuff into clever spy gear! Our easy spy gadgets tutorial is here to help you do just that. It’s perfect for anyone, whether you’re a kid or a grown-up. Our DIY spy gadgets tutorial will make your day full of spies and surprises.
All you need are some simple things like toilet paper rolls, baby powder, and old toys. You can then make your very own homemade espionage tools. These projects are not just fun; they also help the environment by recycling. Imagine making a spy periscope from a cereal box, using invisible ink to write secret messages, or pulling fingerprints like a real detective. The fun you can have is endless, and it’s perfect for anyone who loves spy stories.
Our guide is full of cool ideas, like making a book safe or crafting a spy ID card. We use simple materials like thin cardboard and basic craft items. Let’s explore the world of spy gadgets together. You’ll learn how to add some movie-style suspense to your home. Are you ready for your spy adventure?
Materials Needed for Your Paper Spy Gadgets
Making your own spy gadgets is not only fun but also budget-friendly. You will need materials that you can easily find around your home. This includes things from your craft drawer and the option to add fun, spy-themed extras. So, whether it’s for a school project or just for fun, getting the materials is simple and cheap.
Everyday Household Items
You probably already have some of the things needed for spy gadgets at home.
- Baby powder
- Clear tape
- Toilet paper rolls
- Old stuffed toys
- Lemon juice
- Cotton buds
- Black paper
Craft Supplies
Other materials you might need can be easily found at your local craft store. They’re not expensive but are important for making cool spy gadgets.
- Black paint
- Makeup brush
- Thin cardboard
- Poster board
- Markers
- Craft knife
- Small mirrors
Optional Spy-Themed Accessories
For those who want to go the extra mile, there are special spy gear you can add. These extra items can make your spy gadgets look more professional. You can find most of these extras online or at a discount store like Dollar Tree.
- Spy sunglasses
- Binoculars
- Flashlight
- Notebook
- Disguise glasses
- Mini cameras (especially around Christmas)
- Magnifying glasses
- Glow sticks
- Felt material for drawstring bags (under $2 per remnant at Jo Ann’s)
- Mustache materials for disguises (tutorial at Easy Makes Me Happy)
Crafting Spy Binoculars from Toilet Paper Rolls
Make your spy game better with these binoculars from old toilet paper rolls! This paper spy gear tutorial is a great way for kids to have fun and be creative. It helps them learn, too. You just need things you already have at home and a bit of craft stuff to make your own DIY spying equipment.
Step-by-Step Instructions
- Gather Materials: Make sure you have two toilet paper rolls, glue, magnifying glasses, string, construction paper, and stuff to decorate with.
- Connect the Rolls: Glue the toilet paper rolls together side by side. Press them together until the glue is dry for a good bond.
- Wrap and Decorate: Cover the rolls with colored paper. Glue it to stay in place. Then, have fun decorating them with your favorite art supplies.
- Add Lenses: Use a hot glue gun to stick magnifying glasses to the ends of the rolls. Wait for the glue to cool before using them.
- Attach a Strap: Glue a string inside the rolls to make a strap. This lets you wear the binoculars around your neck.
Materials Required
- Scissors
- 2 empty toilet paper rolls
- White glue or glue dots
- String or ribbon
- Construction paper or butcher paper
- Markers, crayons, stickers, or tissue paper for decorating
- Hot glue gun
- Magnifying glasses
After making these binoculars, kids can have a lot of fun with them. They’re great for pretend play like safaris or “I Spy”. It only takes 20 minutes to make them. This simple spy gadgets tutorial is a fun and quick project that sparks imagination.
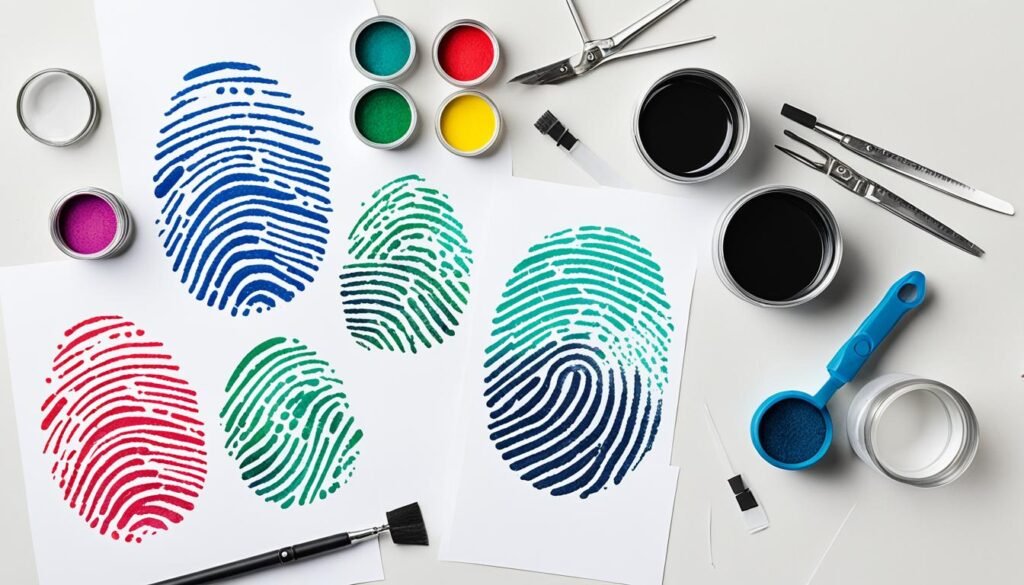
Creating a DIY Fingerprint Kit

Get ready to dive into detective work with an exciting project. Make your own DIY fingerprint set. It’s a fun activity for anyone interested in the spy world. Follow these steps to begin.
Gathering Your Supplies
For your homemade detective kit, you’ll need some easy-to-find items. These will let you gather and examine fingerprints just like a pro.
- Flour or baby powder
- A makeup brush
- Clear tape
- A magnifying glass
- Black construction paper
How to Use Your Fingerprint Kit
Using your DIY fingerprint set is easy and fun. Here’s a guide for starting your spy activities:
- Prepare the surface: Pick a surface where you think you might find fingerprints, such as on glass or plastic.
- Apply the powder: Dust the surface lightly with flour or baby powder using the brush. This shows hidden fingerprints.
- Lift the print: Put clear tape over the print and press softly. Then, carefully pull the tape off to lift the print.
- Analyze the print: Stick the tape onto black paper to see the print clearly. Use the magnifying glass to check it out.
With a few easy steps, you and your mini detectives can have a blast. You’ll sharpen your eyes for detail and dive into the cool world of forensics.
How to Make Invisible Ink for Secret Messages
Get ready to explore the world of invisible ink! This DIY project turns you into a secret agent. You’ll use some simple materials and science to create invisible ink secret messages. It’s a perfect mix of fun and learning, great for children’s spy communication. Learn how to make invisible ink and surprise your friends with hidden messages.
Supplies You’ll Need
- 1 lemon
- Water
- Cotton swabs or a small paintbrush
- White paper
- Iron or lamp (adult supervision required)
- 3 cups or small bowls
- 1/4 cup (60 mL) of water with 3 tablespoons (43.2 grams) of baking soda
- 10-15 red cabbage leaves soaked in 2 cups (470 ml) of hot water
- Grape juice concentrate
Writing and Revealing Secret Messages
Start by squeezing the lemon juice into a bowl. Add a few drops of water to the juice. This mixture becomes your invisible ink. Use a cotton swab or small brush to write the message. Let the paper dry, and your message will disappear.
To see your invisible ink secret messages, you need heat. You can use an iron (with adult help) or a lamp. Hold the paper close for a few minutes. The hidden messages will show up thanks to a chemical reaction.
| Item | Purpose |
|---|---|
| Lemon Juice | Primary ingredient for invisible ink |
| Baking Soda Solution | Alternative ingredient for invisible ink |
| Red Cabbage Juice | Decoder ink for blue letters |
| Grape Juice Concentrate | Reveals invisible ink due to high acid content |
| Iron/Lamp | Heat source to reveal messages |
This project is more than fun; it teaches chemistry basics. You’ll learn about acids, bases, and chemical reactions. After your first DIY invisible ink message, you can keep exploring children’s spy communication tricks!
Credits: Special thanks to Svenja Lohner, PhD, Science Buddies for her contributions to this project.
Building a Spy Periscope with Cardboard and Mirrors
Making your own periscope is a fun way to explore the spy world. It involves using simple materials with a touch of creativity. This cardboard spy craft will spark your imagination and creativity.
Materials Checklist
Start by collecting these items for your DIY project:
- Large cereal box or A4 size cardboard
- Two mirrors (2” x 2” or 5 cm x 5 cm)
- Hot glue gun with glue sticks
- Craft knife (adult supervision required)
- Ruler or scale
- Protractor
- Duct tape
Assembling and Using Your Periscope
Here’s how to put together your cool spy gadget:
- Start by cutting cardboard into four equal pieces. Also, cut two pieces into rectangles (36.5 cm x 10.5 cm), and two more into rectangles (28.4 cm x 8 cm).
- Use a protractor to draw a 45-degree line on the larger rectangles. This angle is important for reflecting light inside.
- Make triangles at both ends of these lines. They should be 7.9 cm high and 6.8 cm wide at the base.
- Glue the mirrors on at the 45-degree angle lines, making sure they are fixed well.
- Connect the three pieces without mirrors by placing one on top. There should be an 8.2 cm gap from the mirrors.
- Cut the small squares three-quarters and some directly in half. Glue the halves to the periscope’s top and bottom parts.
- Use duct tape to strengthen your periscope. You can also decorate it with your own designs or with spray paint.
With your periscope ready, you can now peep over high areas or around the corner. This craft turns everyday items into a cool and useful tool for young spies.
| Materials | Specifications |
|---|---|
| Cardboard | Large cereal box or A4 size |
| Mirrors | 5 cm x 5 cm |
| Rectangles (A) | 36.5 cm x 10.5 cm |
| Rectangles (B) | 28.4 cm x 8 cm |
| Squares | Original or 3/4 sizes |
| Protractor | For marking 45-degree angles |
Enjoy crafting and using your spy periscope. Remember to use all tools safely!
Creating a Discreet Book Safe for Hiding Treasures
Turning a normal book into a hiding spot is a fun and smart move. It’s perfect for kids, teens, and adults. It offers a safe spot for your precious items.
Supplies Needed
- Thick book (preferably hardcover)
- Craft knife
- Ruler
- Pencil
- Glue or wallpaper paste
- Brush
- Plastic wrap
Step-by-Step Construction Guide
- Select the Book: Choose a hardcover book that’s thick. This will hide things well.
- Mark the Area: Open the book a quarter from the back. Use a ruler and pencil to draw a rectangle. Keep a margin of one inch from the edges.
- Cut the Pages: Cut along the lines with the craft knife. Go page by page until you make a hollow space of your desired depth.
- Seal the Edges: To keep the pages in place, use glue or wallpaper paste. Let it dry completely.
- Line with Plastic Wrap: Put a piece of plastic wrap inside to shield what you put there from glue.
- Secure the Pages: Glue the outer edges of the remaining pages. This will keep the book looking normal when it’s closed.
Crafting a book safe is not just for hiding stuff. It’s a lesson in solving problems with creativity. For more hiding places, think about making secret spots in items around the house. You could hide things in old printers or under kitchen cabinets. This advice comes from various sneaky tactics. By making your own cool, safe spot, you can store your valuables cleverly. They stay hidden right in front of everyone.
Paper Spy Gadgets Tutorial: Make a Spy Teddy Bear
Creating a spy teddy bear is a fun and cool project for aspiring secret agents. It shows you how to turn a teddy bear into a hidden camera. This makes it a fun way for kids to play spy games or an interesting gift idea. You can make this DIY spy gadget for about $50.
Materials and Tools Needed
You will need a few things to start. This includes a webcam that is compatible with your system, a big teddy bear, a craft knife, and a small electronics toolbox. Make sure the webcam fits your computer; Linux users might have trouble finding drivers. You might also want to have spare cloth to make a pouch for hiding the camera cable and a box if you plan to give it as a gift.
Instructions for Camouflaging the Camera
First, pick a large teddy bear that can hide the webcam well. Open up the webcam and remove its casing to make it smaller. Then, get rid of the plastic eye stem on the bear and make a hole for the camera lens. The size of the hole depends on your camera’s features. Put the camera in the bear’s head so it stays hidden.
Sew a small cloth pouch inside the bear to keep the camera cable hidden. This pouch hides the cable without changing the bear’s look. Always check the bear works before using or gifting it. Sending it in a strong box will protect it when mailing.
By following these steps, you can create a fun and useful spy teddy bear for little agents.


